How to Create a User Group
In Mission Control, user groups (UGs) are used to organize users and manage their roles, which control the read/write privileges on different objects (e.g., reservations, vehicles, invoices, etc.) across the organization.
There are three types of user groups currently available - Parent, Employee, or Driver. There is only one Parent user group type per organization (owner or service).
| Role Name | User Group Type | System Access | Typical Use Case |
| Admin | Parent | Mission Control | Manages all settings within the service. |
| Service Manager | Employee | Mission Control | Customer service representatives, with visibility into reservations, invoices, and customers to support |
| Group Manager | Employee | Mission Control | Manages reservation calendar and vehicle tools. |
| Fleet Manager | Employee | Mission Control | Manages vehicles within assigned vehicle groups and oversees operators. |
| Operator | Employee | Mission Control | Technician, can only be assigned reservations or NFC access devices. |
| Driver | Driver | Mobile App | Customer (carshare for rideshare, personal use). Can make own reservations. |
| Driver Loaner | Driver | Mobile App | Customer (service loaner). Reservations must be made on customer’s behalf from Mission Control. |
Instructions
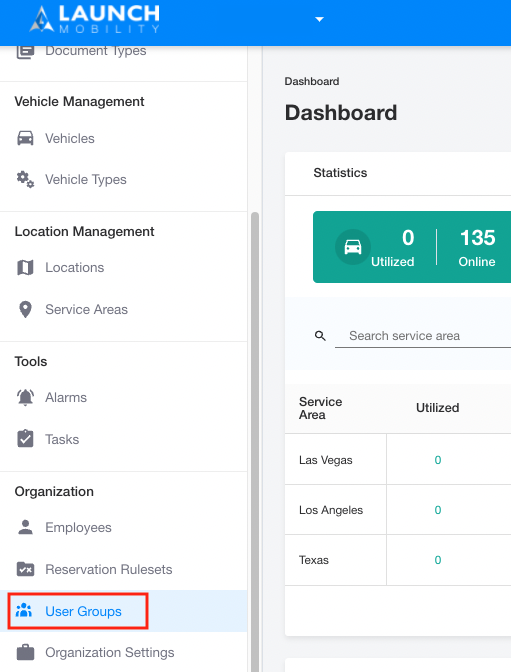
- Within Mission Control, when viewing the navigation bar on the left, scroll down until you get to the “Organization” section, click “User Groups”.
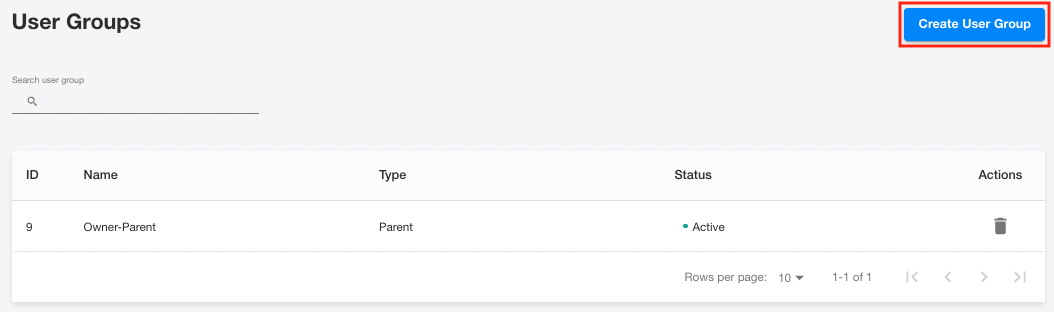
2. Select the “Create User Group” button.
3. Input the following fields:
-
Name: This will identify this particular user group during Mission Control user creation or modification.
-
User group type: This allows the user group to be designated as either Employee or Driver. The user group type should be aligned with the selected role (per the table above).
-
Default role: This manages the role that a user created within this user group is initially assigned upon Mission Control user creation.
-
Select default vehicle group: This is the vehicle group that will be automatically assigned to the user upon user creation. Options for vehicle groups may be either service areas (owner-level vehicle groups in a multi-service hierarchy) or specific vehicle groups.
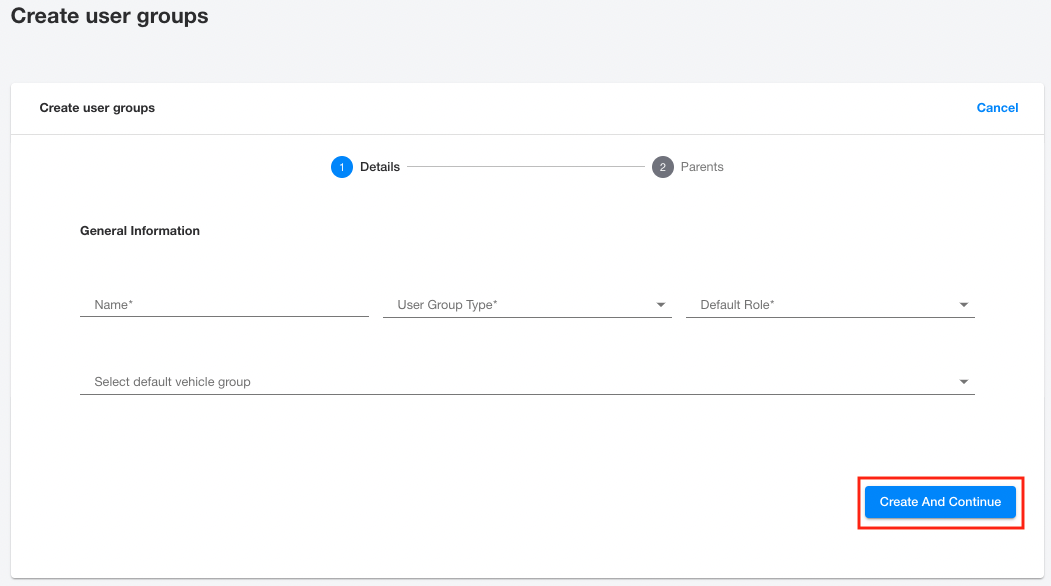
Once you’re finished with your selections, click “Create and Continue”.
Please click here for a glossary of terms (work in progress!)
Launch Mobility features role-based access control. Not sure about the permissions of your user groups? Contact us.
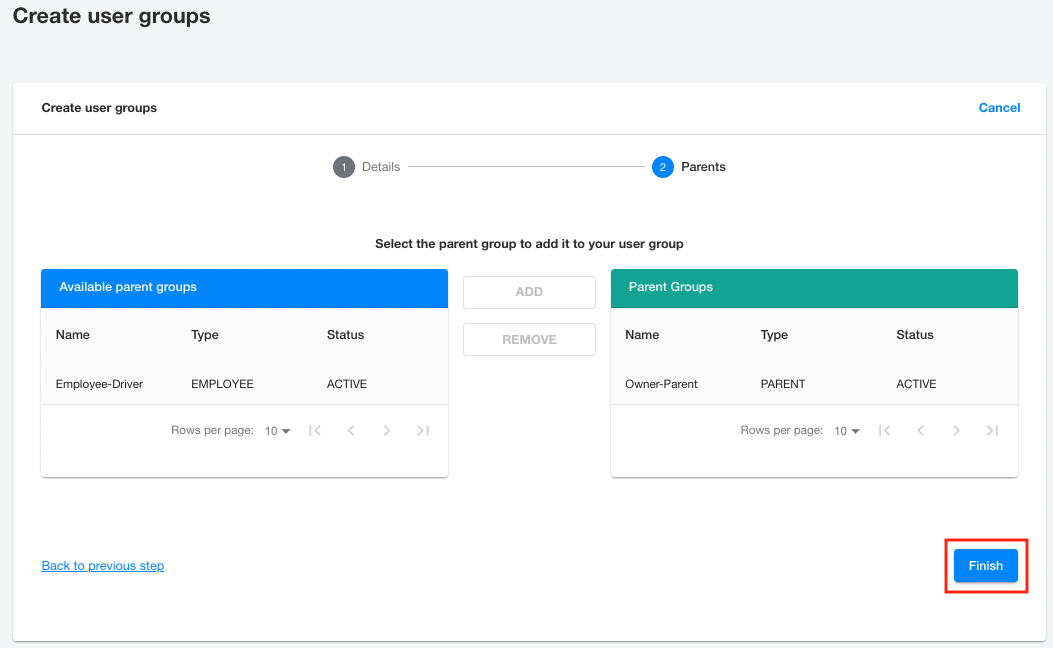
4. If needed, add a parent group(s) to the user group. The parent group has visibility into any objects (e.g., reservations, vehicles, invoices, etc.) related to this user group.
If the new user group needs visibility into another user group’s information (e.g., a new Employee user group should see information related to the Drivers user group), please edit the child user group’s parents to include the new user group.
5. After you’ve made your selections, click the “Finish” button.